Get started
Platform tour
Learn how sign-in, workspaces, evaluation areas, execution tools, and Personal Access Tokens fit together in the current AIDX platform.
The active workspace is the operating boundary of AIDX. It determines the evaluations, credits, members, and enabled modules you can use. Within that boundary, BenchDX and RobustDX provide their own creation, execution, progress, and result views.
Sign in and create your first workspace
AIDX uses passwordless email verification and may also offer Google or Microsoft sign-in when those providers are configured.
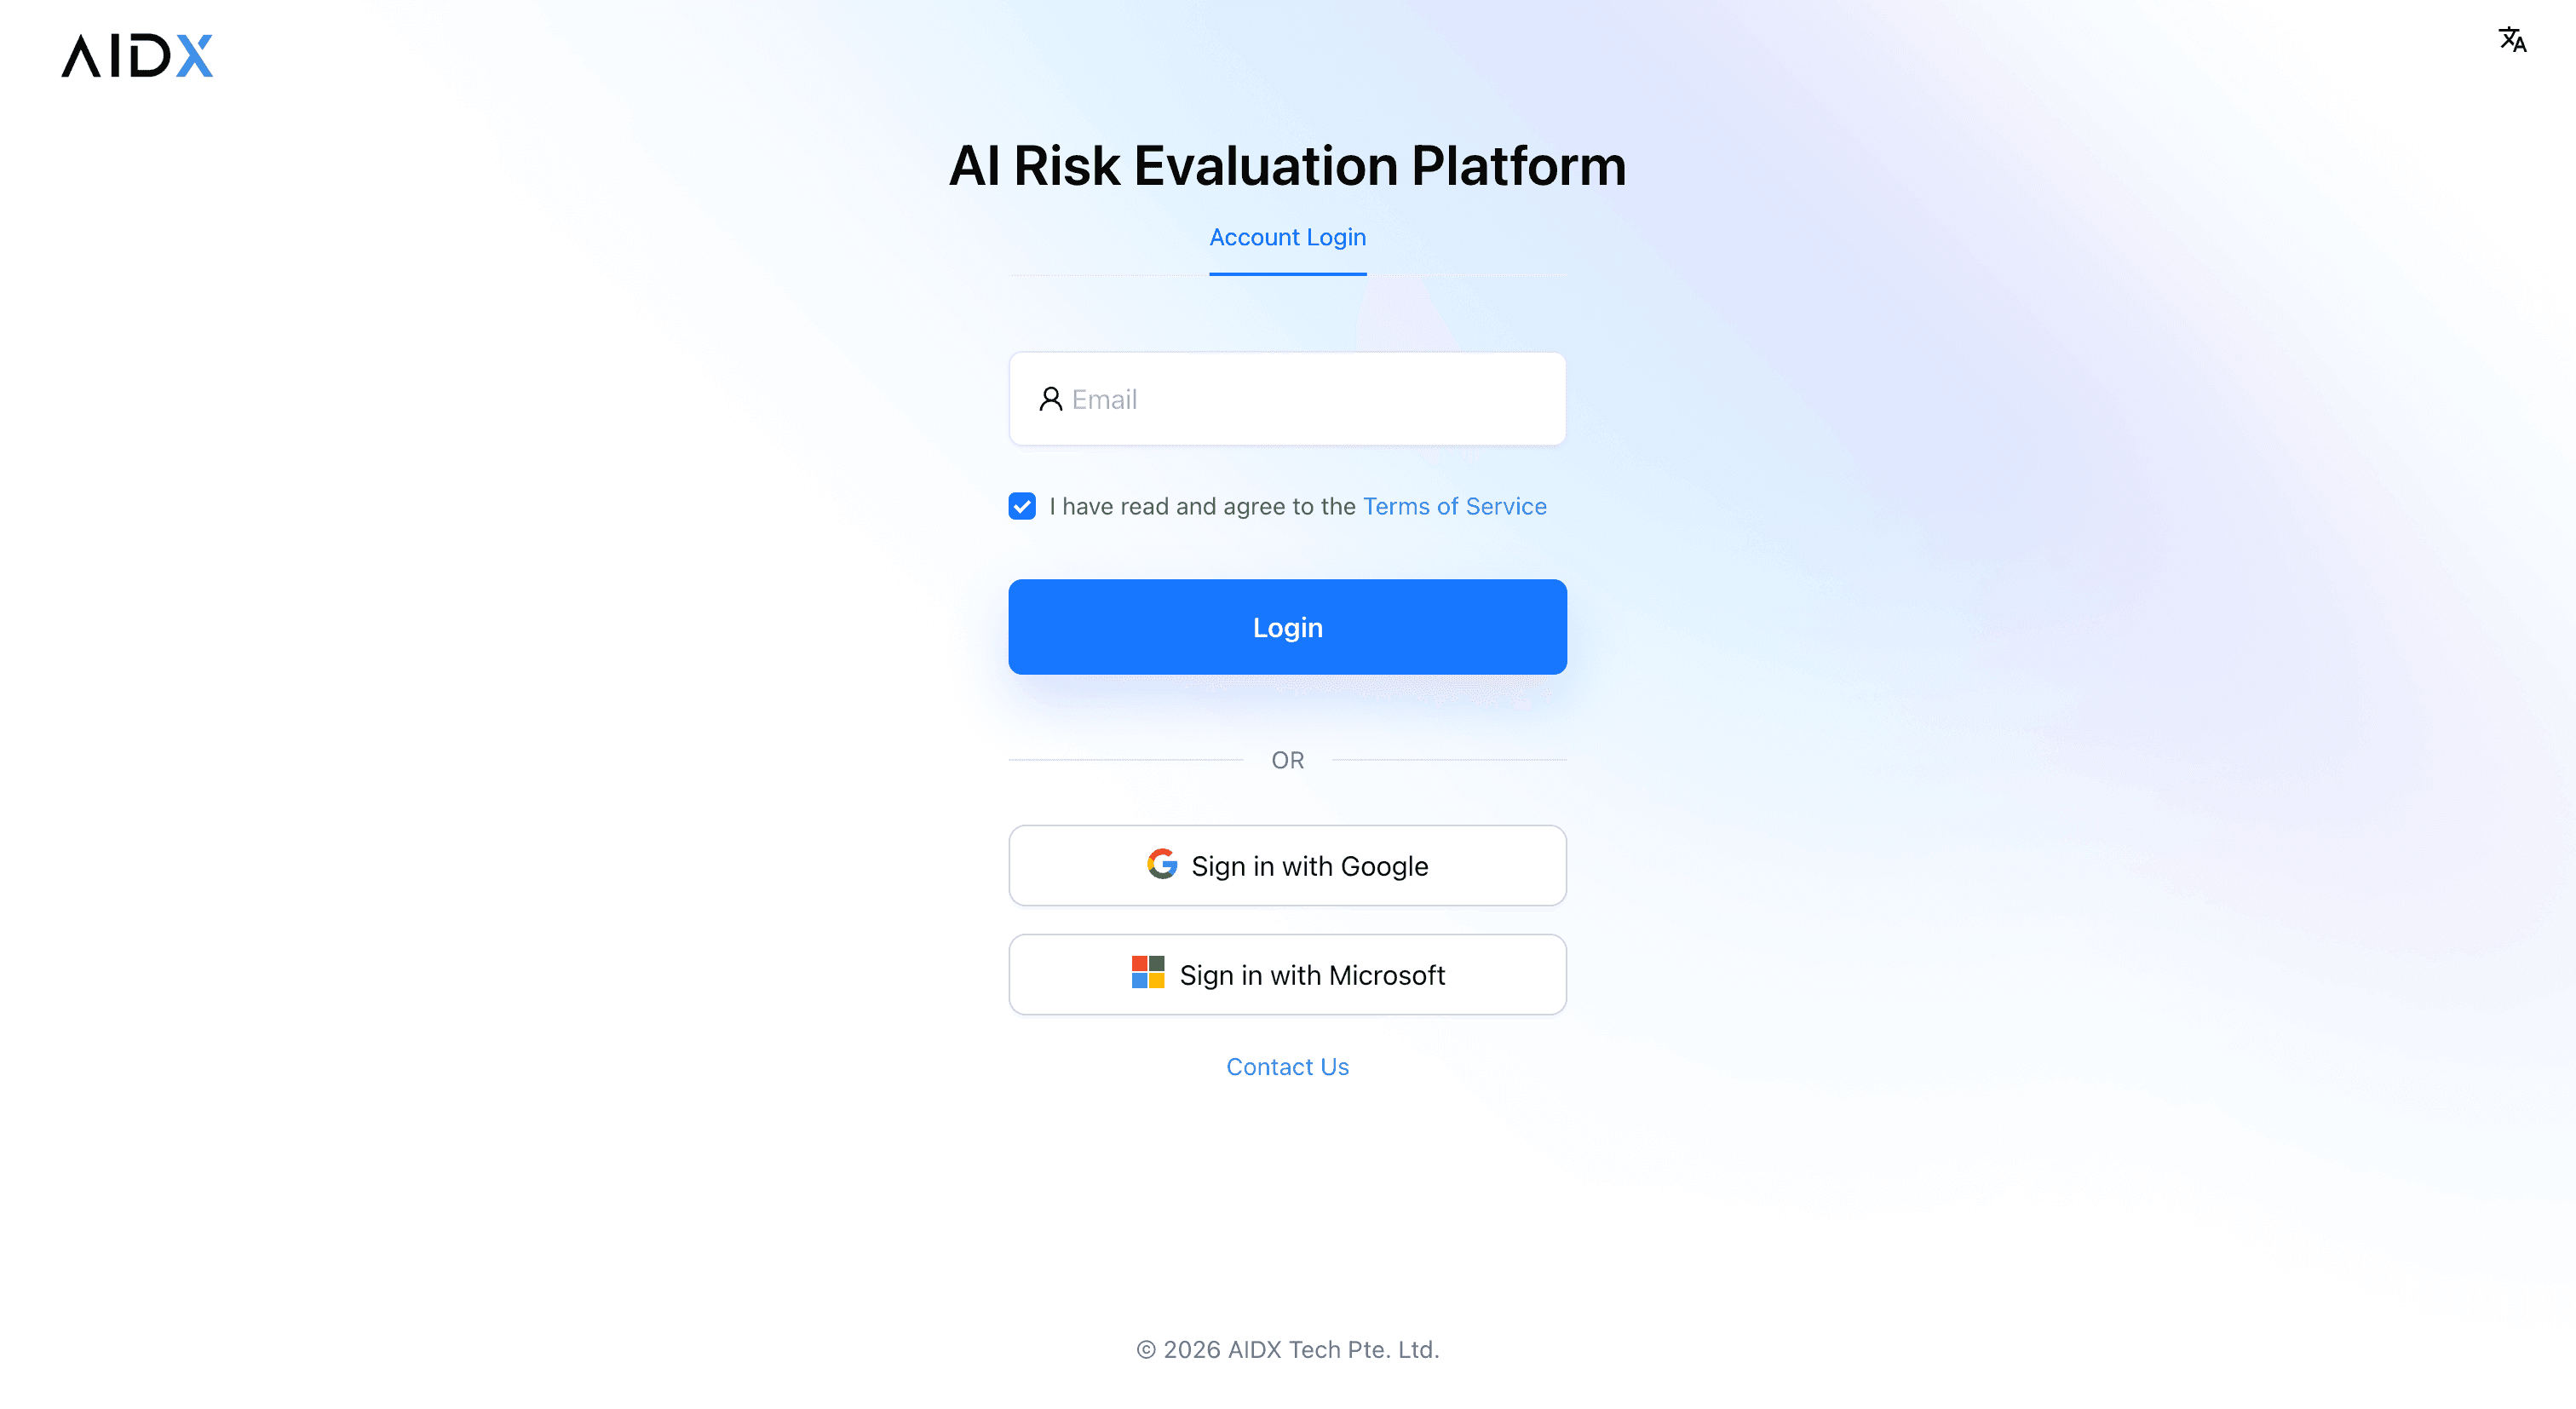
Accept the Terms of Service
Accept the terms before using email, Google, or Microsoft sign-in.
Verify your identity
For email sign-in, enter your address, select Login, then enter the six-digit code sent to your inbox. Use Resend code after the countdown or Use a different email when needed.
Complete first-time setup
New users enter an Account name and Workspace name, then select Create workspace. The new workspace becomes active and AIDX opens the Home page.
If sign-up began from an invitation, complete the first-workspace step first. AIDX then returns you to the pending invitation so you can accept the invited workspace.
Understand workspace context
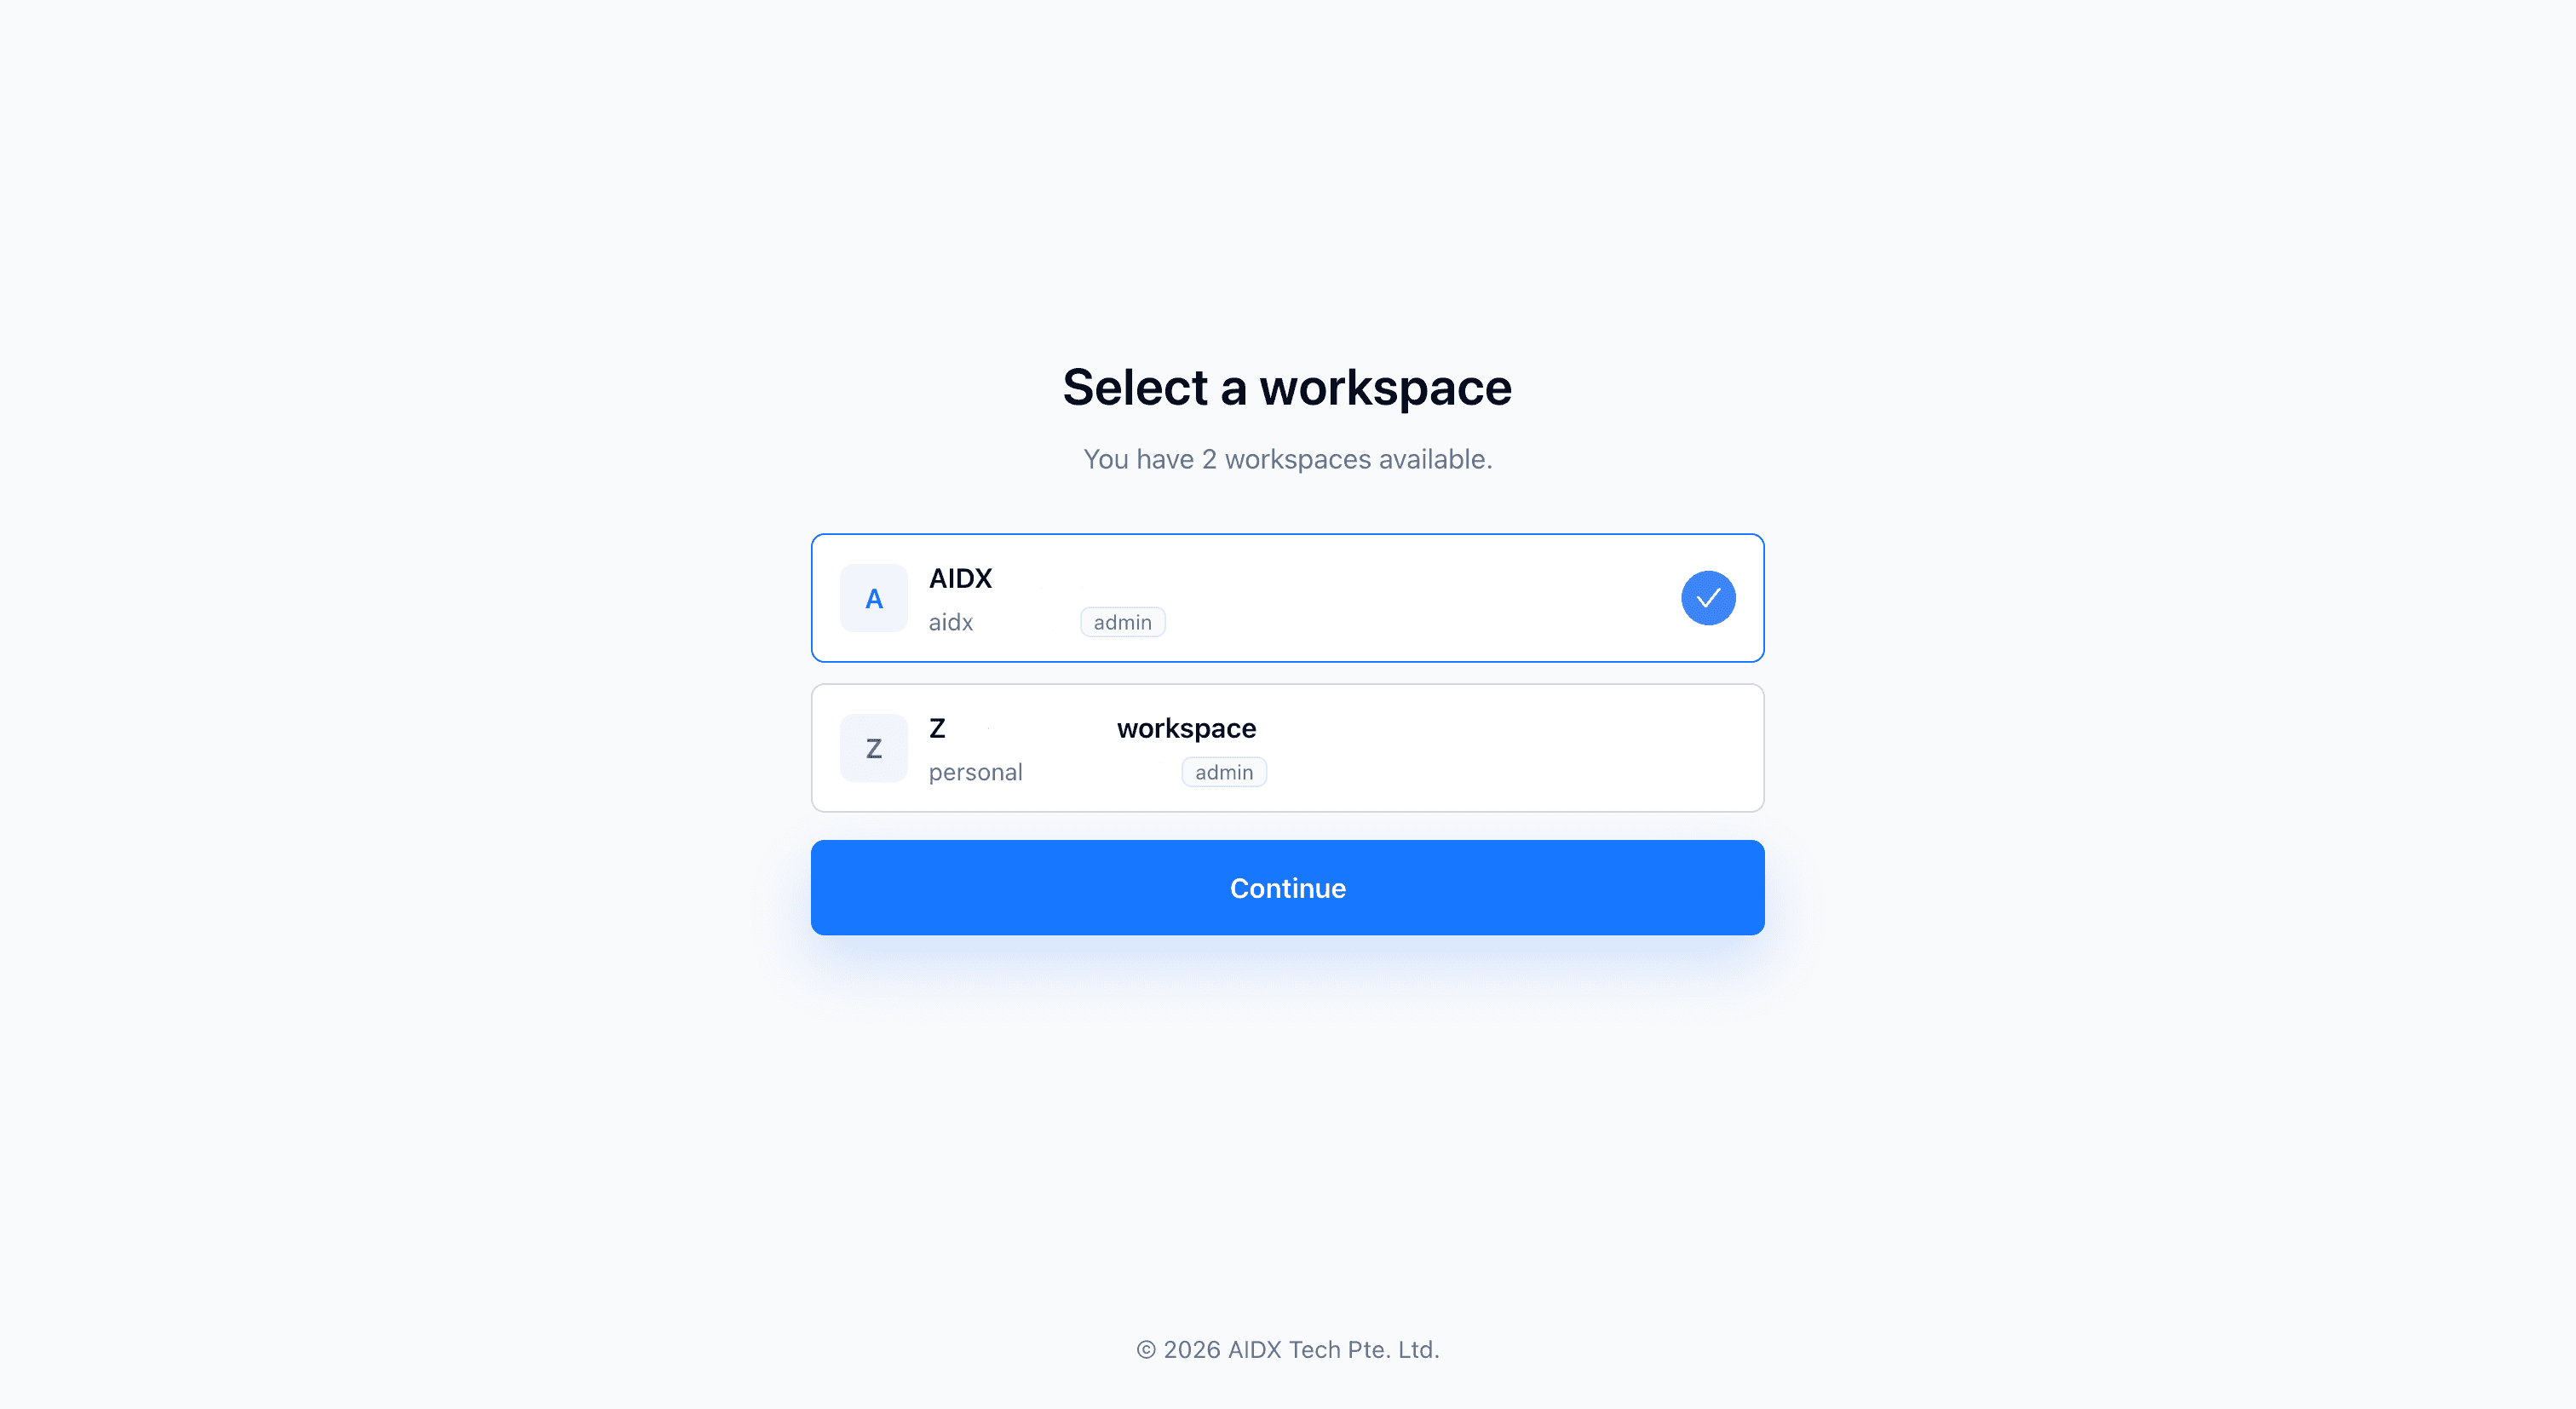
Existing users select a workspace after sign-in. Use the workspace selector in the application header to change the active workspace. Always confirm the active workspace before creating an evaluation or spending credits.
| Workspace controls | What they affect |
|---|---|
| Membership | Which users can enter the workspace and what member-level access they receive. |
| Enabled modules | Which evaluation menus and capabilities are available. |
| Credits | The balance used when an evaluation is created. |
| Evaluation data | The evaluations, progress, and results visible in the current context. |
Find the supported evaluation areas
| Menu | Use it for | Method-specific input |
|---|---|---|
| LLM → BenchDX | Benchmark safety evaluation against selected categories or standards | Model name, model version, and benchmark categories or standards |
| LLM → Adversarial Test | RobustDX adversarial testing using generated attack prompts | Uploaded CSV or TXT seed prompts and selected attack methods |
Know the evaluation tools
Open an evaluation to access the tools used after creation:
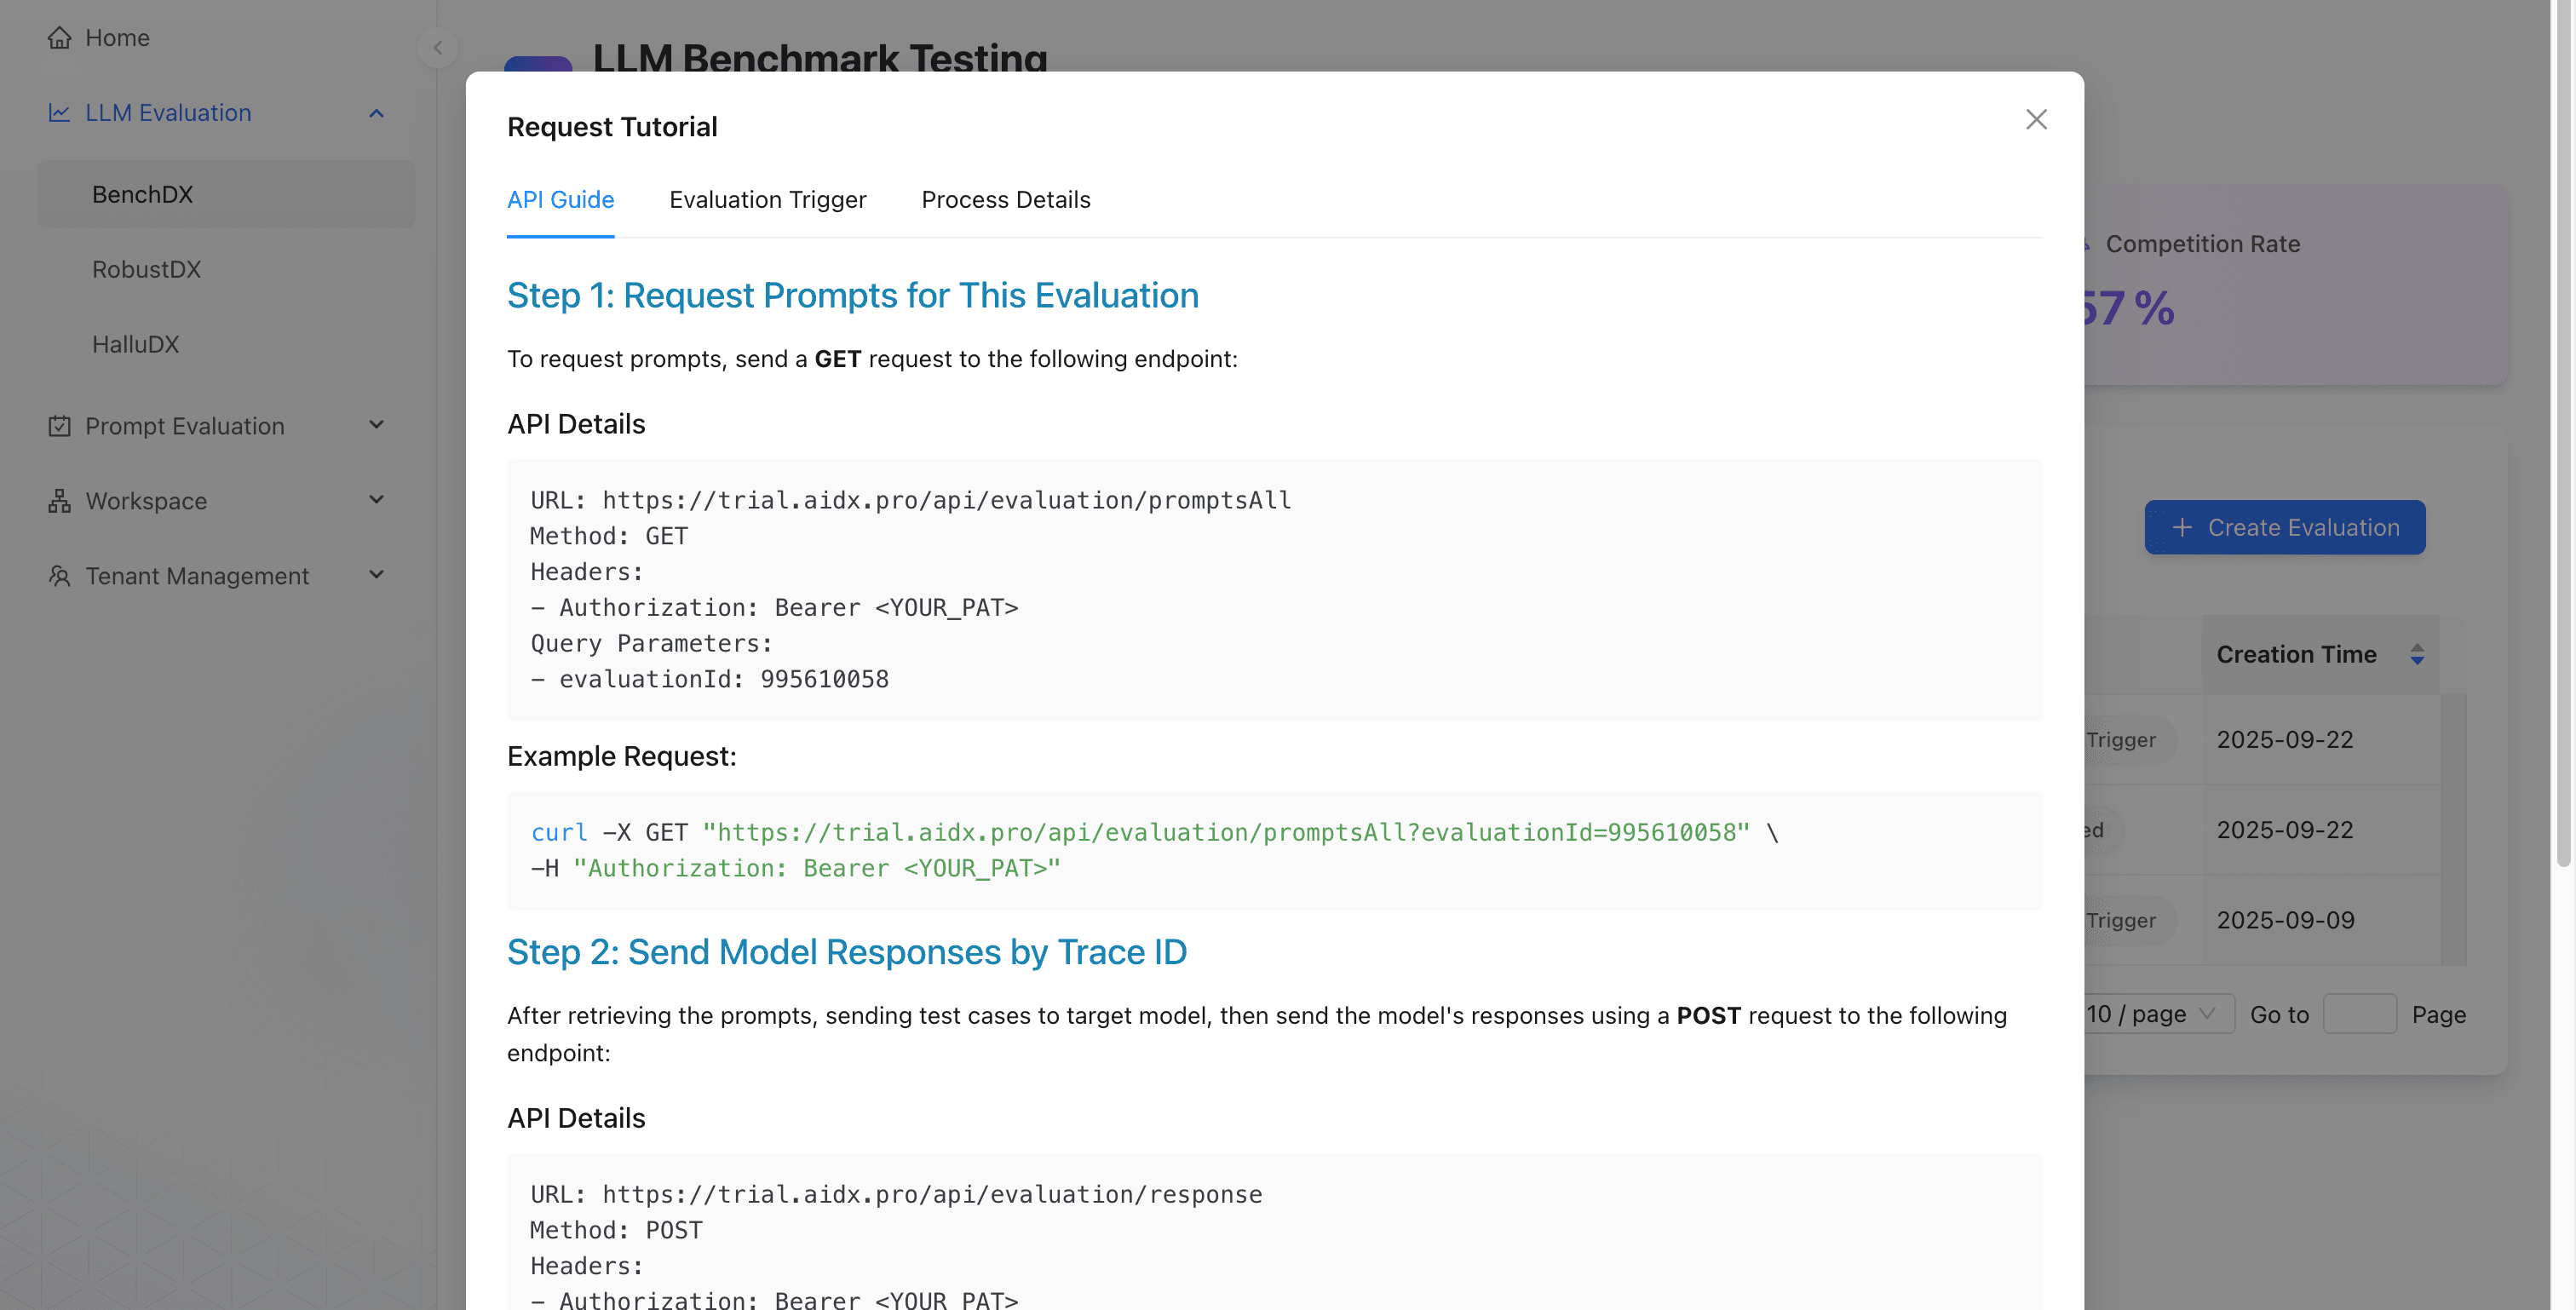
- Request Tutorial
- The post-creation guide that points you to the available request workflow for that evaluation.
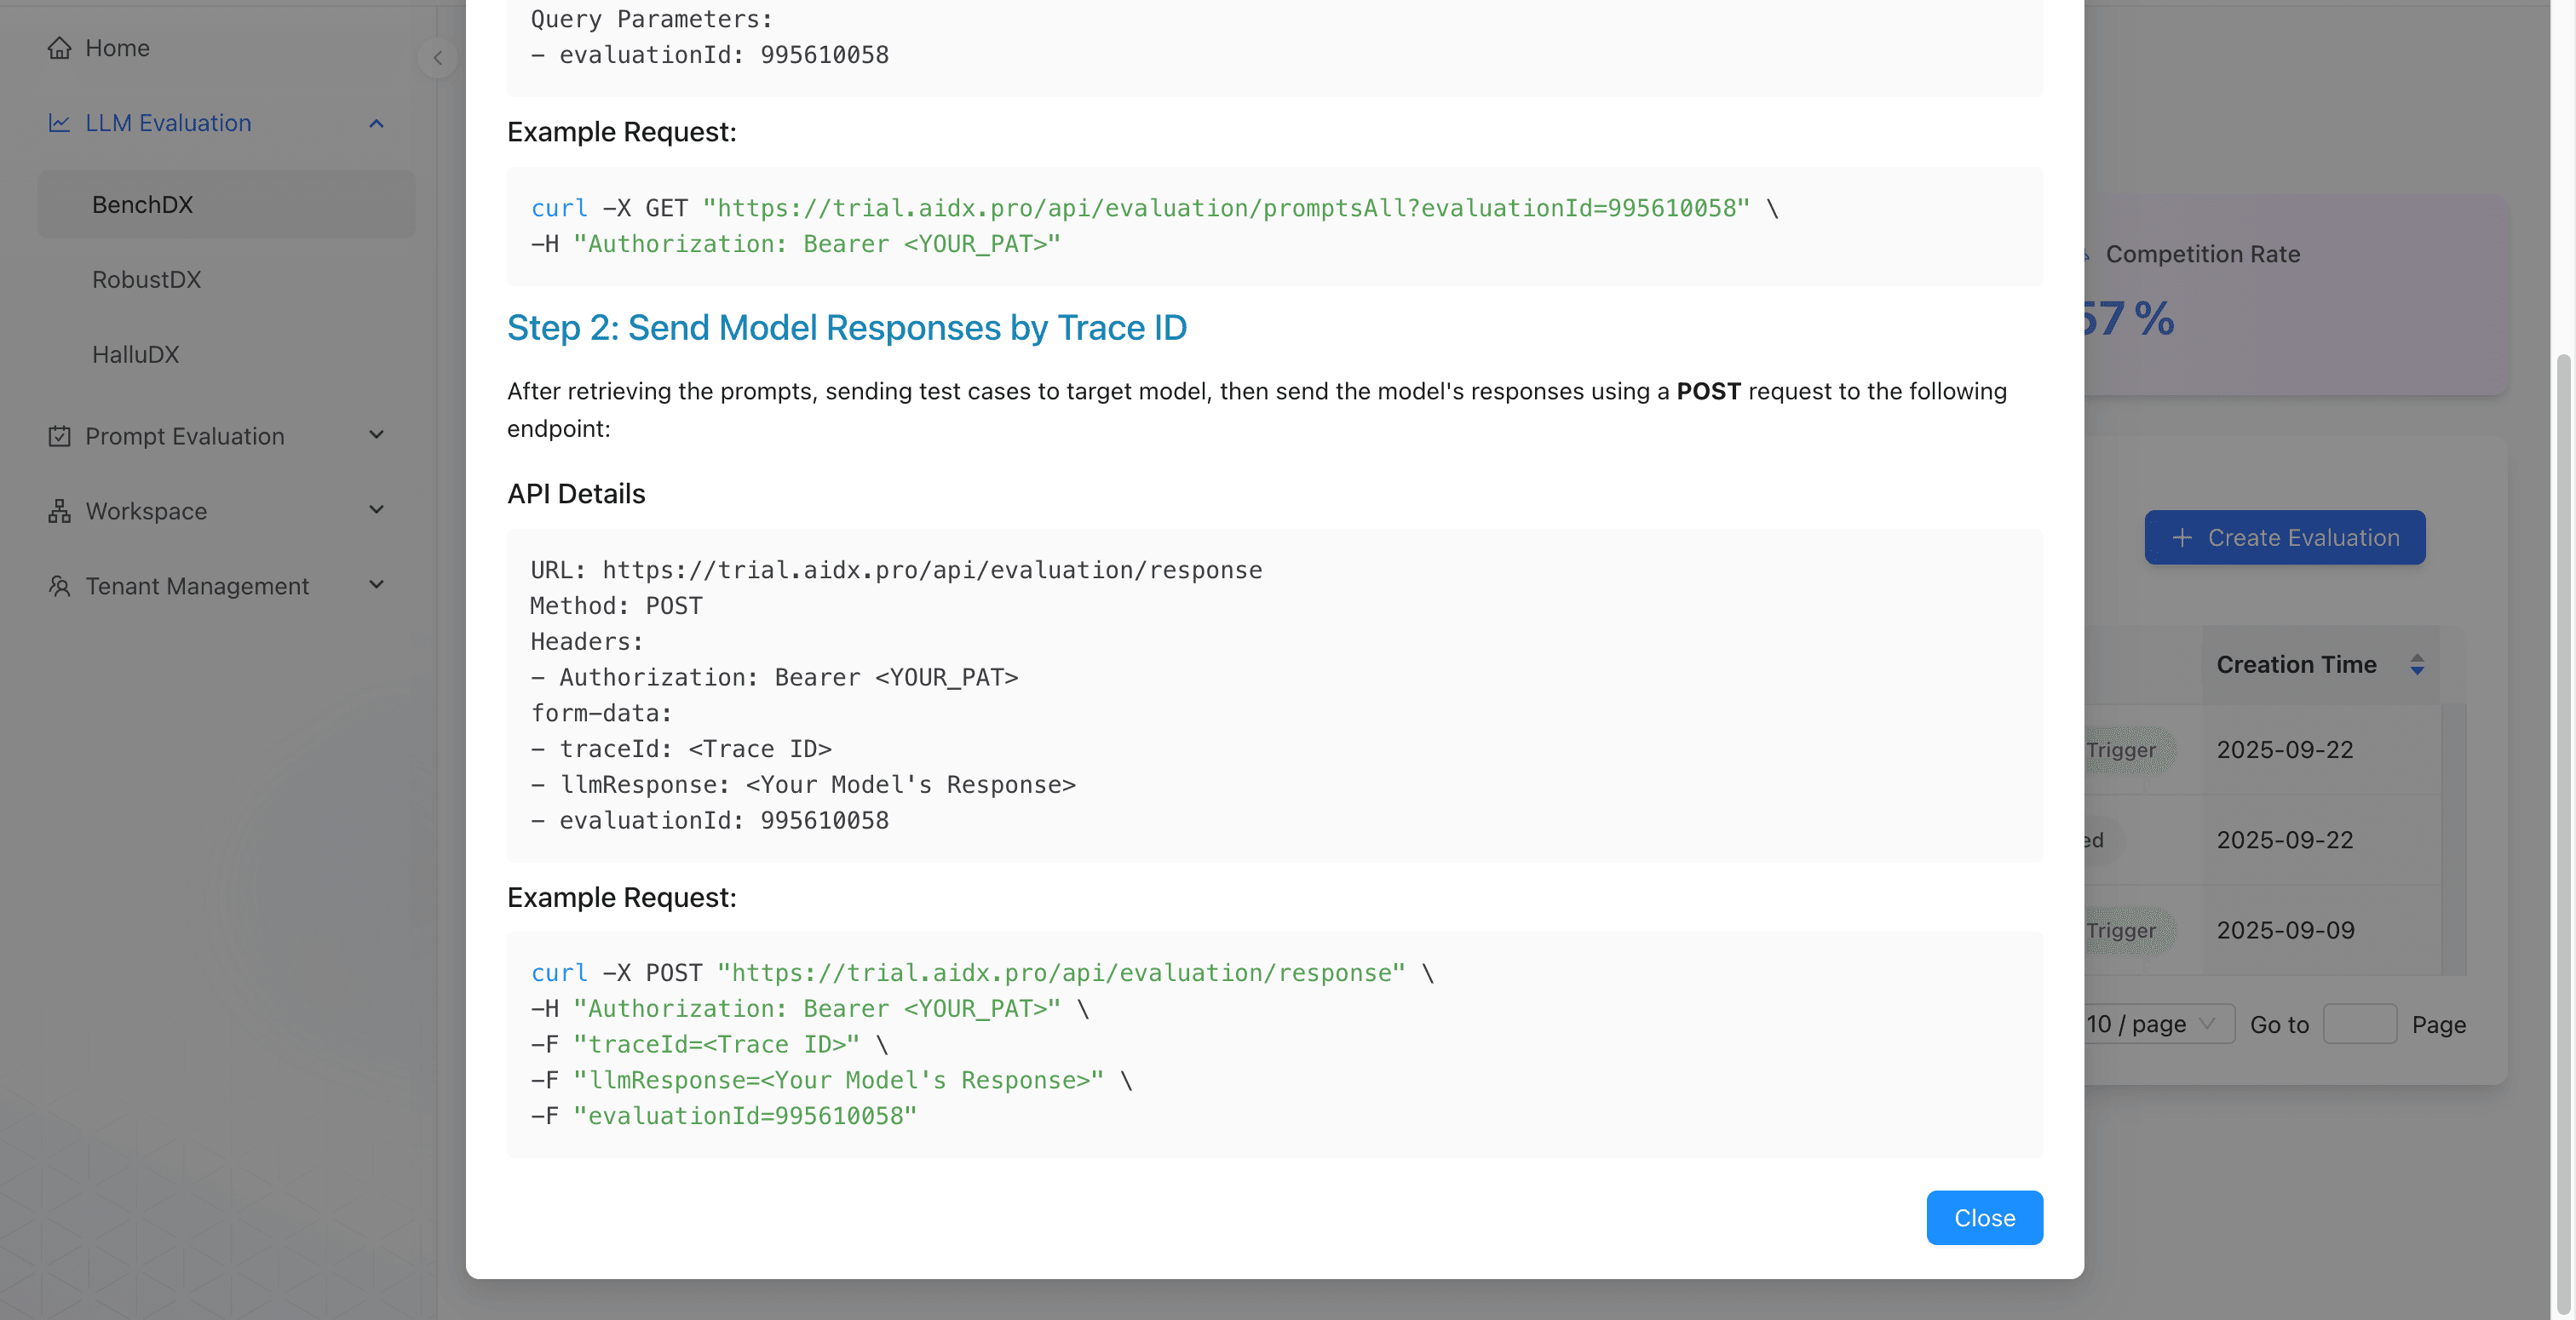
- API Guide
- The integration path for retrieving prompts and submitting one model response for each traceId.
- Evaluation Trigger
- The path for mapping AIDX prompts into a target API, extracting its responses, and sending pending requests without a custom integration script.
- Process Details
- The case-level view of Awaiting Trigger, Sent, Responded, Evaluated, and Error states.
- Completed dashboard
- The result view containing the evaluation summary, conclusions, charts, detailed scores, and score definitions.
The API Guide and Evaluation Trigger are alternative execution paths. Use one deliberate path for a request batch and monitor it through Process Details.
Create and manage a Personal Access Token
A Personal Access Token (PAT) is the supported credential for scripts and external automation using the LLM evaluation APIs. Evaluation Trigger does not require you to create a PAT.
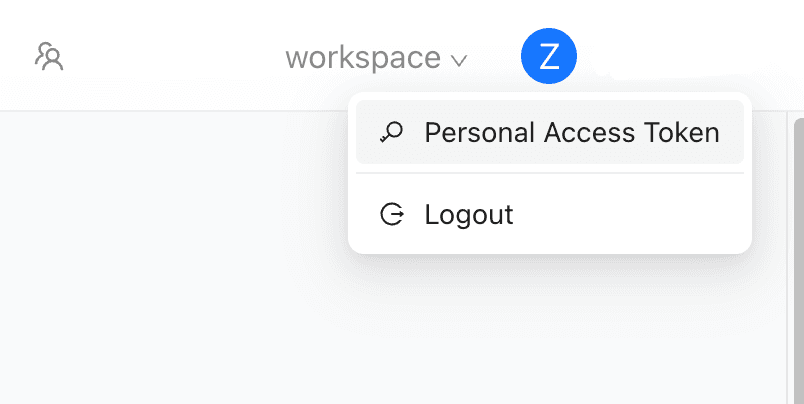
Open Personal Access Token
Open the user menu in the upper-right corner and select Personal Access Token.
Create the token
Select Create PAT, enter a name, and choose an expiration date or a 30-, 60-, or 90-day shortcut, then confirm creation.
Copy it immediately
Store the raw token securely when the creation result appears. The token value is shown only once; the list later shows only its name, status, and expiration.
Use it with the evaluation guides
Send
Authorization: Bearer <YOUR_PAT>in each supported external request. Open the evaluation’s Request Tutorial for its evaluation ID. The documented API base URL ishttps://trial.aidx.pro. Use API Guide to retrieve prompts and submit one response for everytraceId.Revoke it when no longer needed
Delete the token from the Personal Access Token page to revoke it before expiration. Expired tokens cannot be used.
Common workflows
Run your first evaluation
Create a BenchDX evaluation and complete it through Evaluation Trigger.
Read guide ↗Understand BenchDX
Learn the benchmark method, scope, scoring model, and limitations.
Read guide ↗Explore RobustDX
Create adversarial tests from seed prompts and selected attack methods.
Read guide ↗Troubleshoot a run
Diagnose access, trigger, response, processing, or result issues.
Read guide ↗